Why This Recipe Wins Every Time
Before we grab the mixing bowl, let’s talk about what sets this recipe apart from the stack on your counter. This is a formula built for reliability and sublime texture.
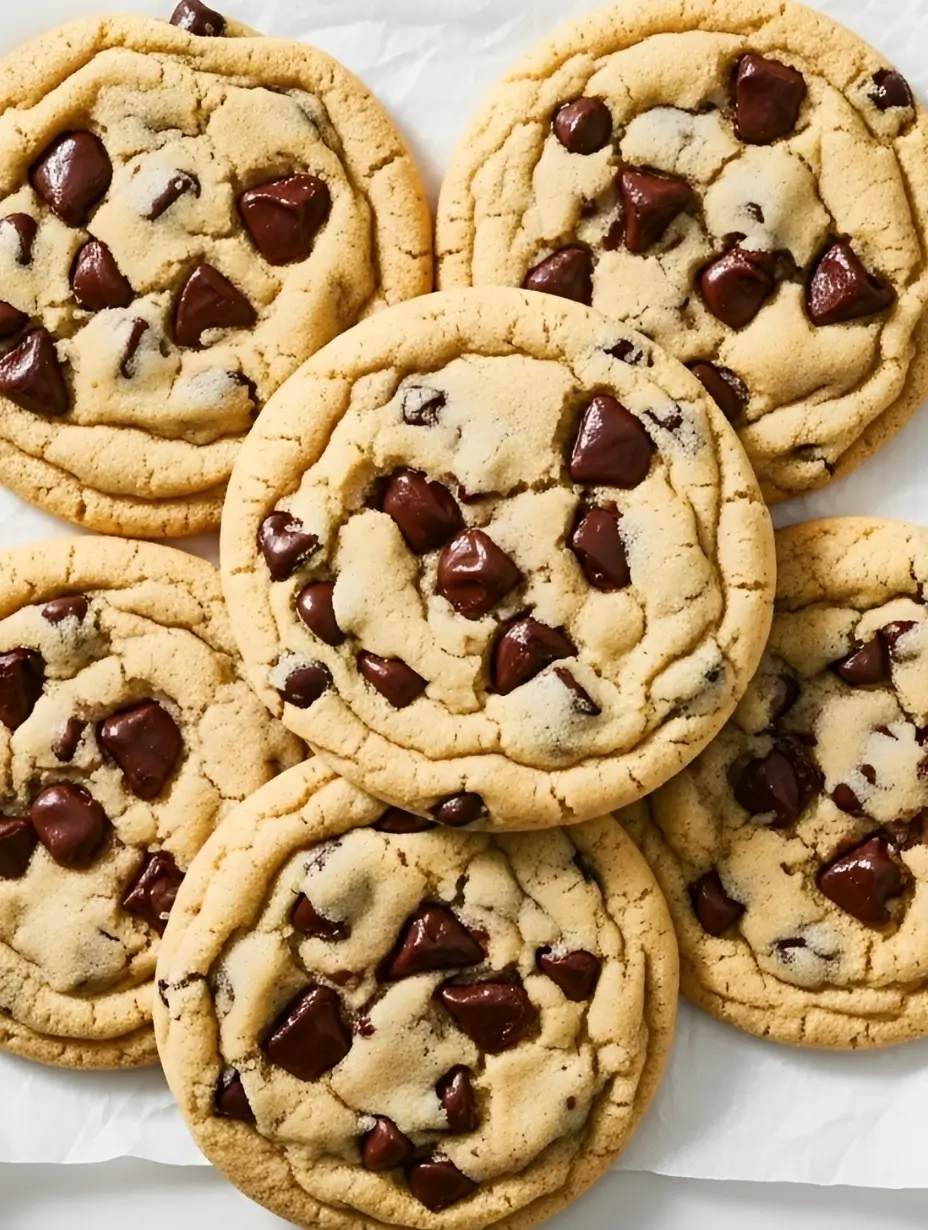
➤ Taste: A profound butterscotch depth meets sweet vanilla, perfectly balanced by pools of semi-sweet chocolate. It’s a complex flavor profile that avoids being one-dimensionally sweet.
➤ Texture: This is where the magic happens. We achieve the holy grail: a slightly crisp, caramelized edge that gives way to a dense, soft, and chewy center, studded with gooey chocolate chips.
➤ Ease: Despite the spectacular results, the process is straightforward and accessible, using common ingredients. From bowl to oven in about 30 minutes is a firm promise.
➤ Proven Success: This recipe is a community favorite, trusted by home bakers and perfected through rigorous testing. It’s designed to work, and work brilliantly, every single time.
Your Blueprint for Success: The Ingredients
Great bakery style cookie recipes start with understanding your ingredients. Each one plays a specific role, and choosing them wisely is your first step toward cookie greatness.
➤ Flour, The Foundation: 3 cups (380 grams) of all-purpose flour. Flour provides structure. For consistent results, weigh your flour with a digital scale. If you must use cups, use the “spoon and level” method: lightly spoon flour into your measuring cup and level it off with a knife. Scooping directly from the bag packs in too much flour, leading to dry, cakey cookies.
➤ Leavening Agent: 1 teaspoon of baking soda. Not baking powder. Baking soda is our single leavening agent here, promoting beautiful spread and that signature golden-brown color. Ensure yours is fresh (less than 6 months old) for maximum effect.
➤ Salt, The Flavor Enhancer: 1 teaspoon of fine sea salt. Salt is non-negotiable. It amplifies every other flavor in the dough, balancing the sweetness and making the chocolate taste more chocolatey. Fine sea salt disperses evenly. If you only have table salt, use ¾ teaspoon.
➤ Butter, The Heart of the Cookie: 2 sticks (227 grams) of unsalted butter, at a cool room temperature. This is arguably the most critical ingredient. Your butter should be around 65-67°F (18-19°C)—cool to the touch, able to hold a slight indentation when pressed, but not soft, shiny, or greasy. This temperature allows it to properly cream with the sugars, trapping air for the ideal texture. Unsalted butter is preferred for flavor control.
➤ Sugars for Texture & Taste:
Granulated (White) Sugar: ½ cup (100 grams). This sugar encourages spread and crispness.
Light Brown Sugar: 1 ¼ cups (247 grams), lightly packed. The molasses in brown sugar is the secret to moisture, chew, and that iconic butterscotch flavor. Do not reduce the sugar; it’s essential for texture.
➤ Binding & Enriching Agents:
Eggs: 2 large eggs, at room temperature. They bind the dough, add richness, and contribute to structure. Cold eggs can re-solidify your creamed butter.
Vanilla Extract: 2 teaspoons. Use pure vanilla extract for the best aroma and flavor. It’s the fragrant high note that makes a cookie taste complete.
➤ The Star of the Show: 2 cups (340 grams) of semi-sweet chocolate chips. I prefer higher-quality chips like Ghirardelli or Guittard for their superior melt and flavor. You can use chunks instead, or even a mix of semi-sweet and dark chocolate. This quantity ensures chocolate in every single bite.
Essential Tools for Bakery Style Cookies
How to Make Bakery Style Chocolate Chip Cookies
This is where theory becomes delicious reality. Follow these steps closely, and you are guaranteed a spectacular batch of cookies.
Step 1: Prep and Combine Dry Ingredients
Preheat your oven to 350°F (175°C). Line your baking sheets with parchment paper or silicone baking mats.
In a medium bowl, whisk together the measured flour, baking soda, and salt. This aerates the dry ingredients and ensures the leavening and salt are evenly distributed. Set this bowl aside.
Step 2: Cream Butter and Sugars
In the bowl of a stand mixer fitted with the paddle attachment (or using a large bowl and a hand mixer), combine the cool room-temperature butter, granulated sugar, and brown sugar. Beat on medium speed for a full 2 minutes. You’re looking for the mixture to become light in color, fluffy, and well-combined. This step incorporates air, which is crucial for texture. Scrape down the bowl and beater halfway through.
Step 3: Incorporate Eggs and Vanilla
With the mixer on low, add the room-temperature eggs one at a time, mixing until just combined after each addition. Add the vanilla extract and mix to incorporate. Scrape down the bowl again to ensure everything is homogenous. The mixture may look slightly curdled at this point—that’s perfectly fine.
Step 4: Gently Add Dry Ingredients
With the mixer on the lowest possible speed, gradually add the flour mixture. Mix until just a few streaks of flour remain. Turn off the mixer and, using a sturdy spatula, fold in the chocolate chips by hand until the last bits of flour disappear. Do not overmix. Overmixing develops gluten, which leads to tough cookies.
Step 5: Portion the Dough
Using your large cookie scoop, portion the dough into 3-tablespoon balls. Drop them onto your prepared baking sheets, spacing them at least 2 inches (5 cm) apart to allow for spread. For extra-pretty bakery style cookies, dot the top of each dough ball with a few extra chocolate chips.
Step 6: The Optional (But Highly Recommended) Chill
Here is a pro tip for how to make bakery style cookies with even more flavor and texture: chill the dough. You can bake a few right away, but for the ultimate experience, cover and refrigerate the scooped dough balls for at least 24 hours (up to 72 hours). This allows the flour to fully hydrate, the flavors to deepen and meld into an incredible butterscotch note, and results in a thicker, chewier cookie with better browning. You can bake them directly from the fridge, adding 1-2 minutes to the bake time.
Step 7: Bake to Perfection
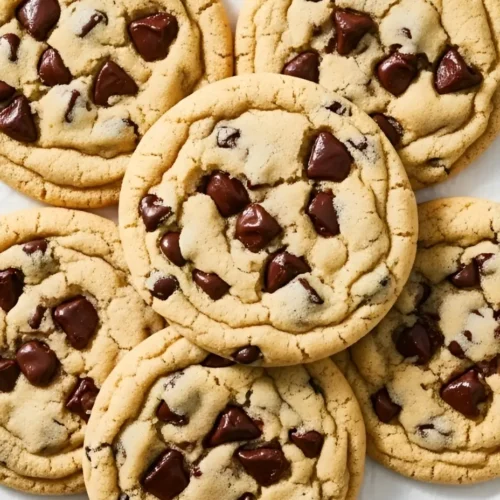
Bake one sheet at a time in the center of your preheated oven for 11 to 13 minutes. The cookies are done when the edges are a firm, golden brown, but the centers still look soft, puffy, and slightly underbaked. They will have a lovely crinkled, craggy top. Remember, they continue to bake on the hot sheet (carry-over cooking).
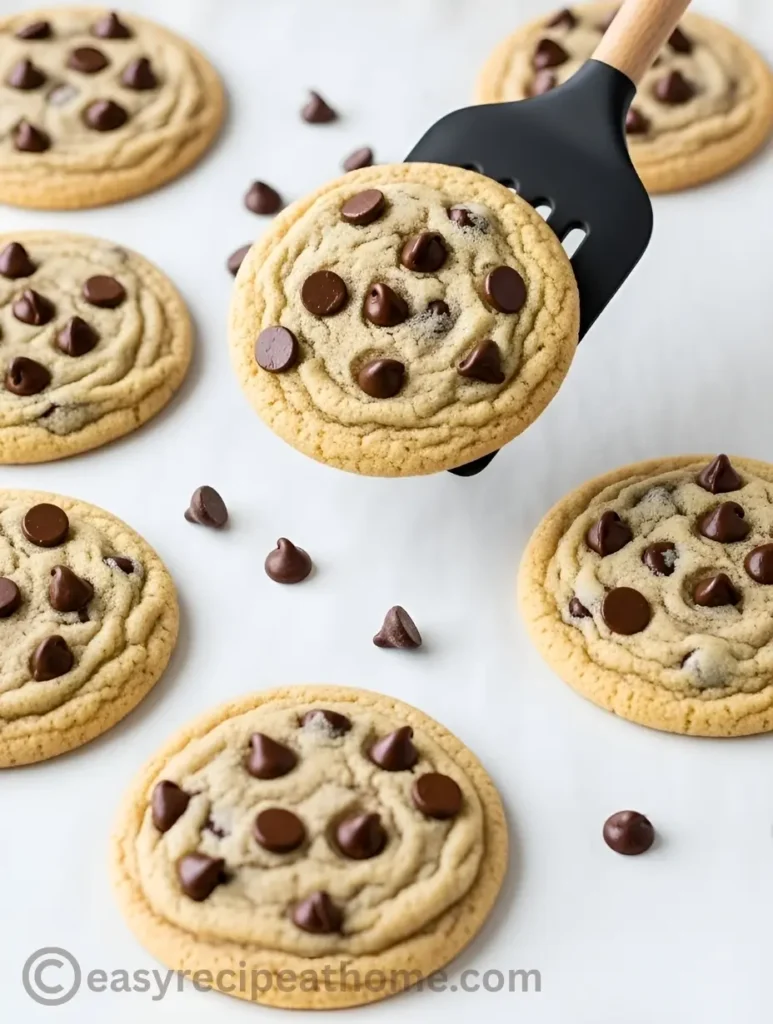
Step 8: Cool and Serve
Remove the pan from the oven and, for a perfect round shape, you can gently swirl a round cookie cutter slightly larger than the cookie around its edges. Let the cookies cool on the baking sheet for 5 full minutes before transferring them to a wire rack to cool completely. This rest period allows them to set. Enjoy warm, when the chocolate is gloriously gooey.
Storing Your Masterpiece
➤ To Keep Cookies Soft: Store completely cooled cookies in an airtight container at room temperature for up to 5 days. To revive softness, add a slice of bread to the container—the cookies will absorb the moisture.
➤ To Freeze Dough (My Favorite Trick!): After portioning, freeze the dough balls on a parchment-lined sheet until solid (about 1 hour). Then transfer them to a freezer bag. You can bake directly from frozen, adding 2-3 minutes to the bake time. This means you’re never more than 15 minutes away from a warm bakery style cookie.
➤ To Freeze Baked Cookies: Layer cooled cookies between parchment paper in an airtight container and freeze for up to 3 months. Thaw at room temperature.